Importing contacts into Growby.net is a streamlined process designed to enhance your WhatsApp marketing experience. In this detailed guide, we will walk you through the steps to easily import contacts from Excel files and integrate them seamlessly into your Growby account. Follow these instructions to get started:
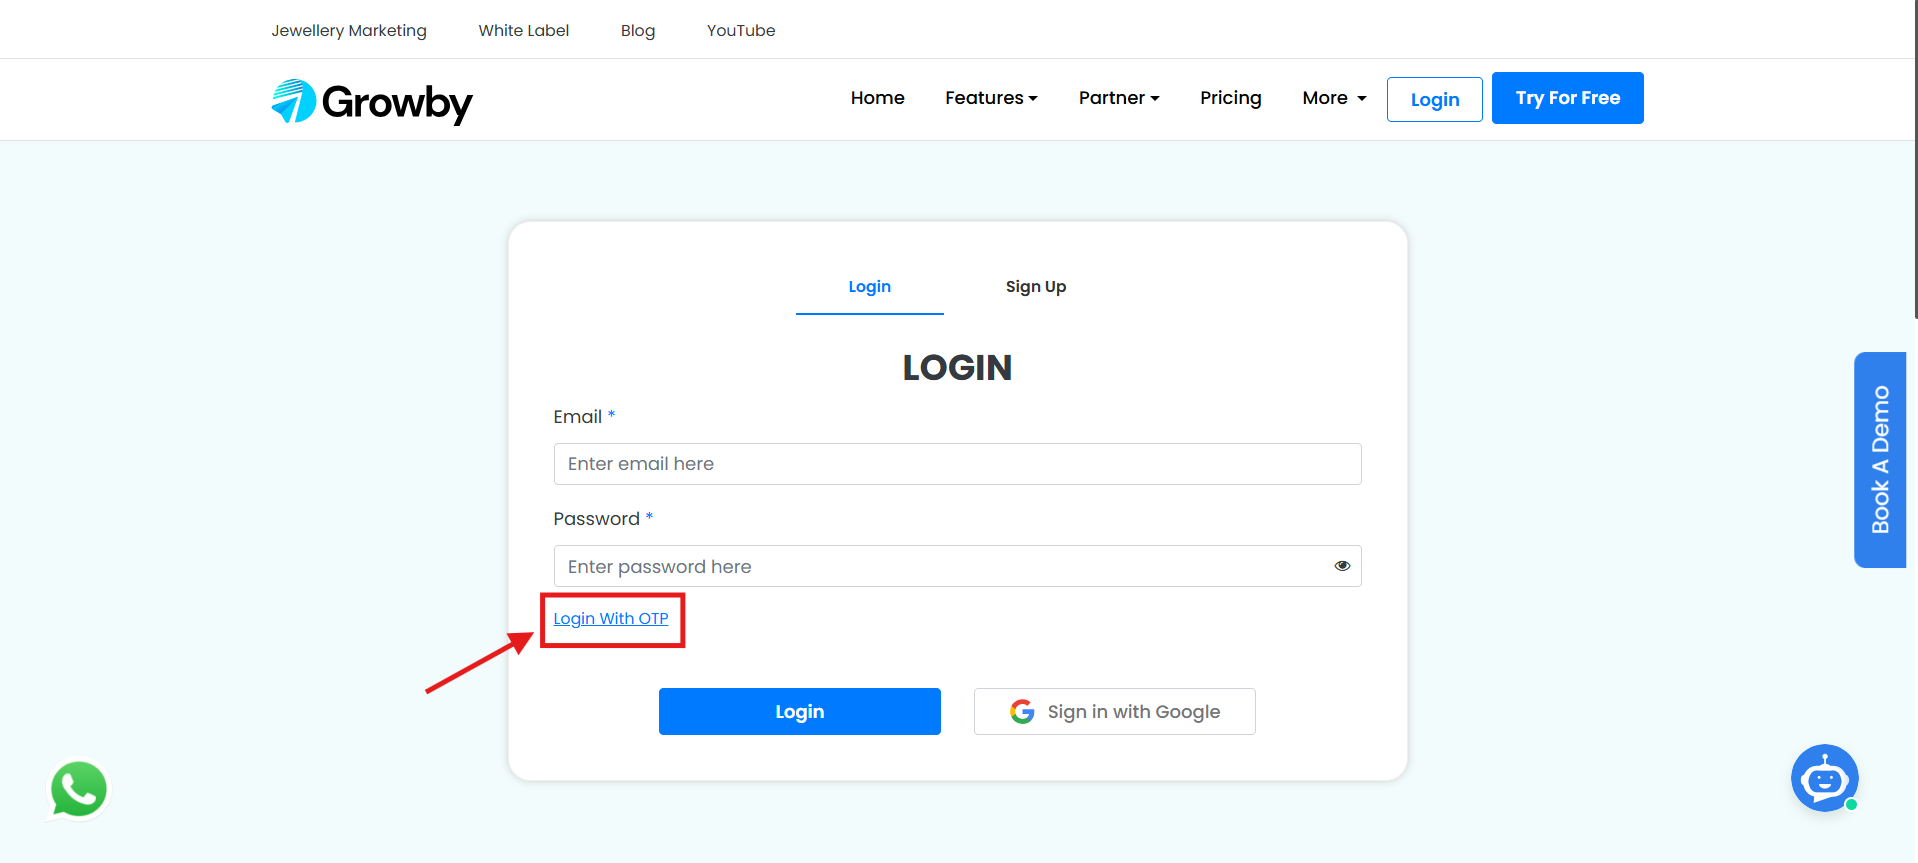
Step 1: Click on Login
To begin, click the Login button located at the top-right of the page.

Step 2: Login to your Account
Enter your registered email address and password to sign in.
In case of you’ve forgotten your password then you can sign in to your Account with the OTP by the following steps:
- Click Login with OTP
- Enter the OTP sent to your registered email.
- Click on Login button to login to your Account.
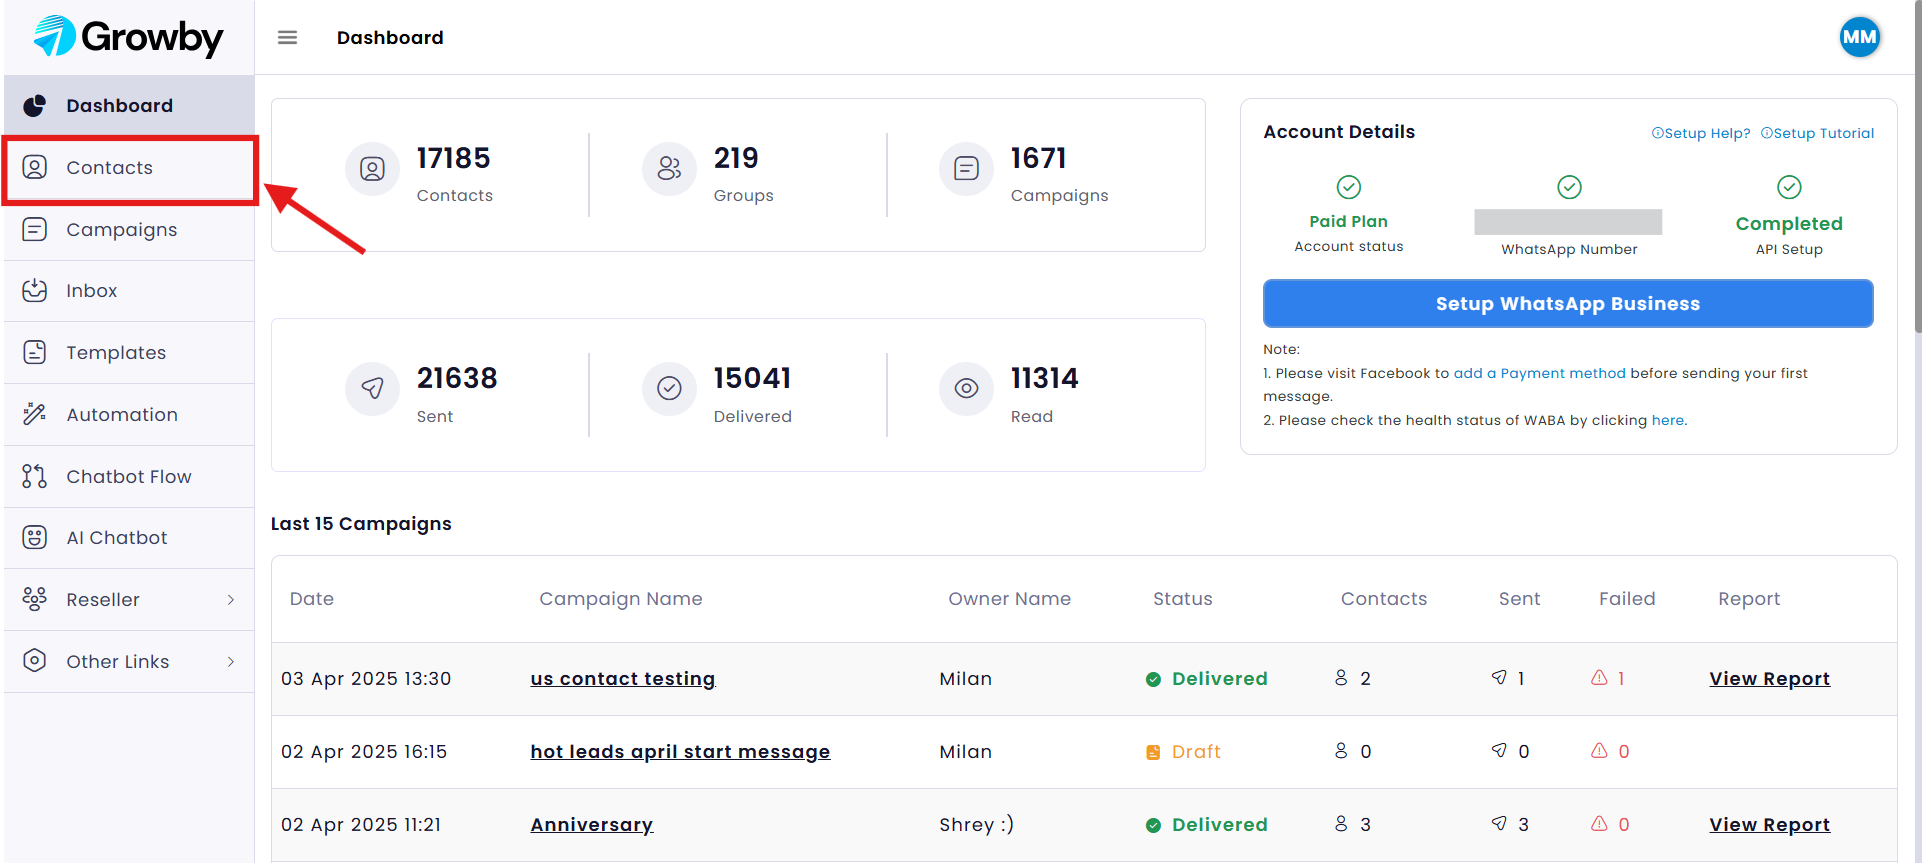
Step 3: Access the Templates Section
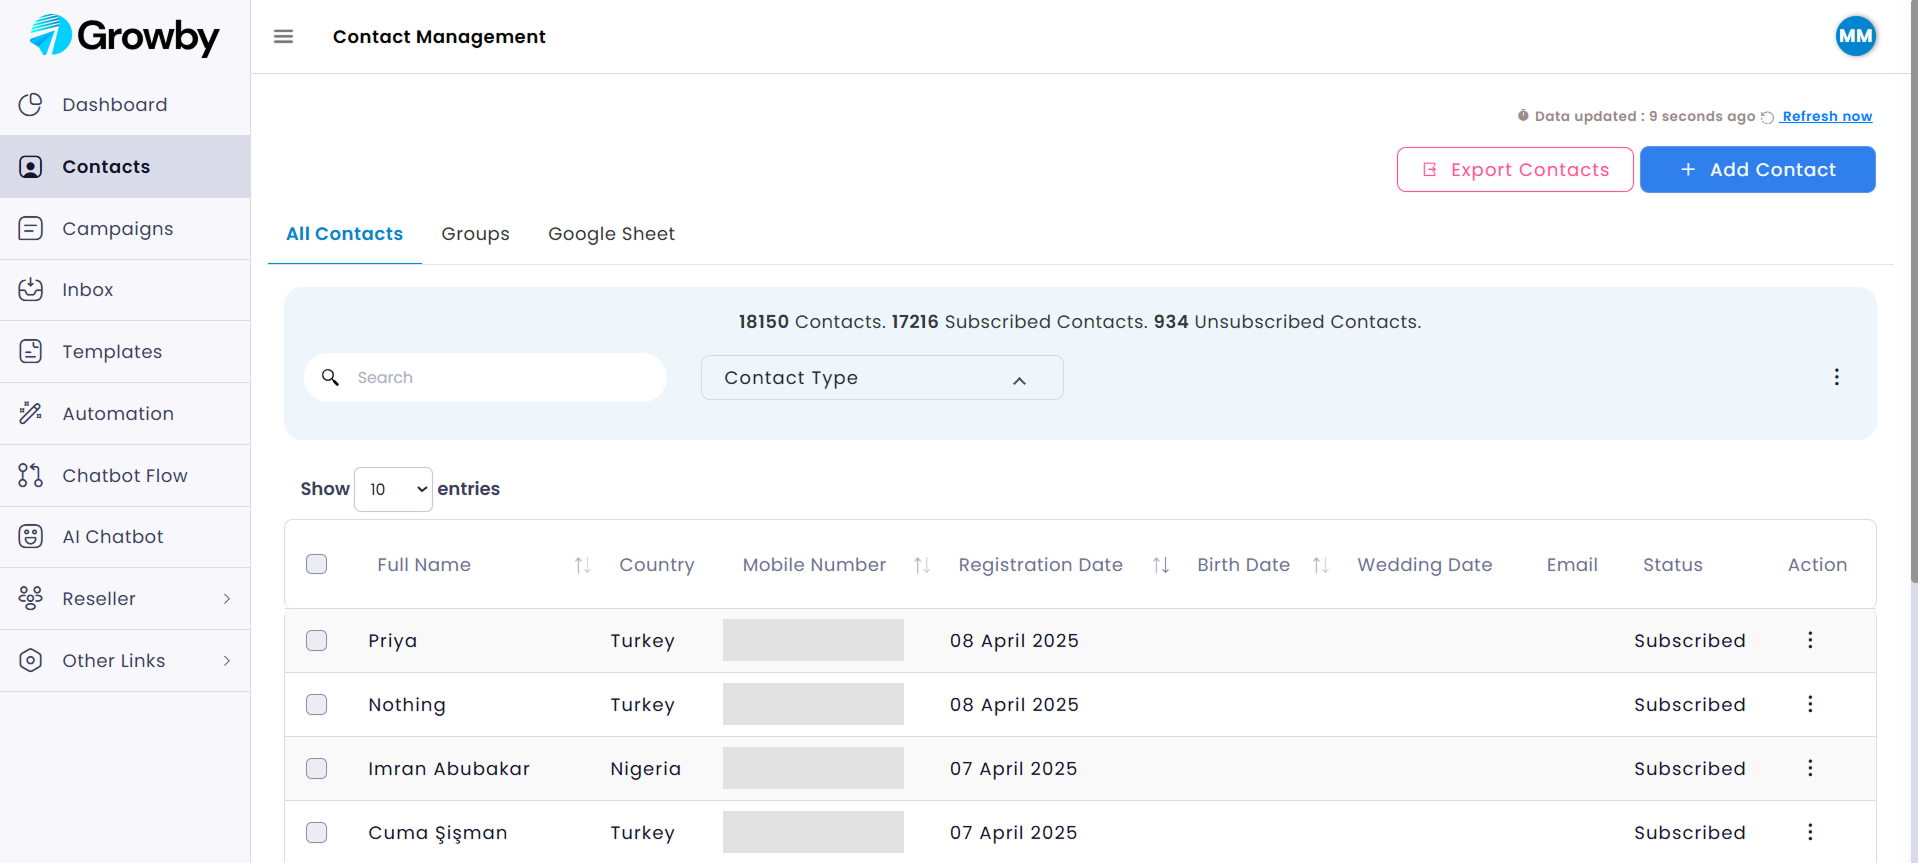
Once logged in, you’ll be directed to your Growby Dashboard. Now, click on the Contacts tab in the left sidebar.
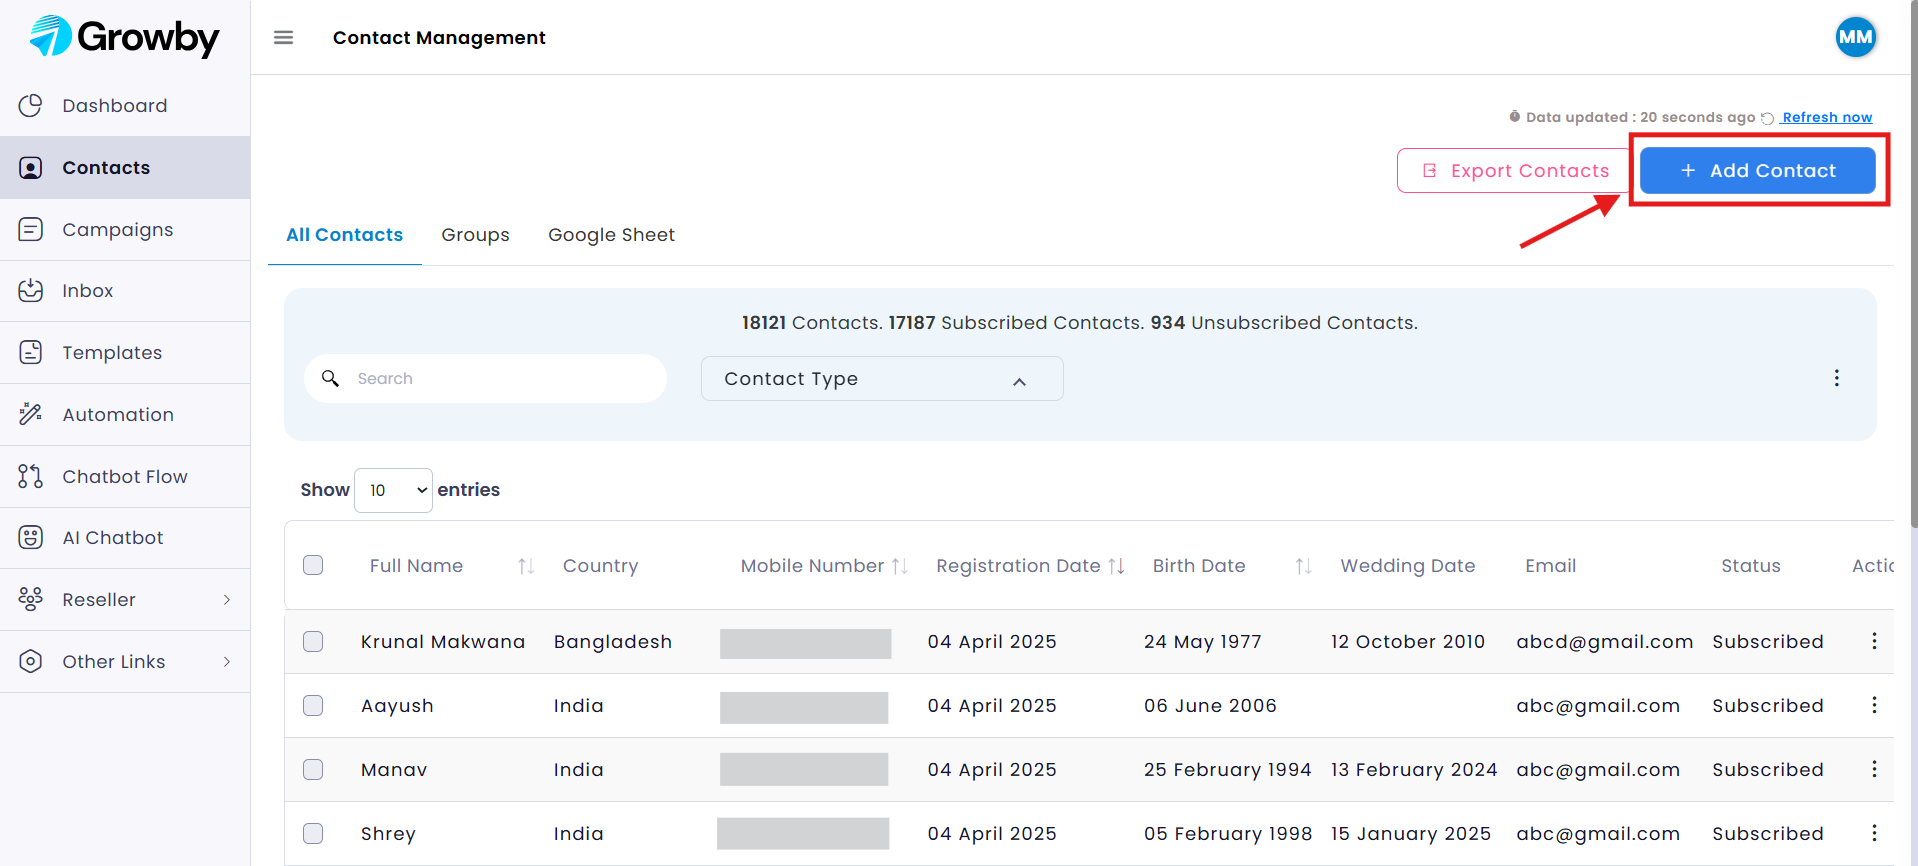
Step 4: Add New Contacts
Click on “Add Contact” button located on the top-right corner to begin adding new contact.
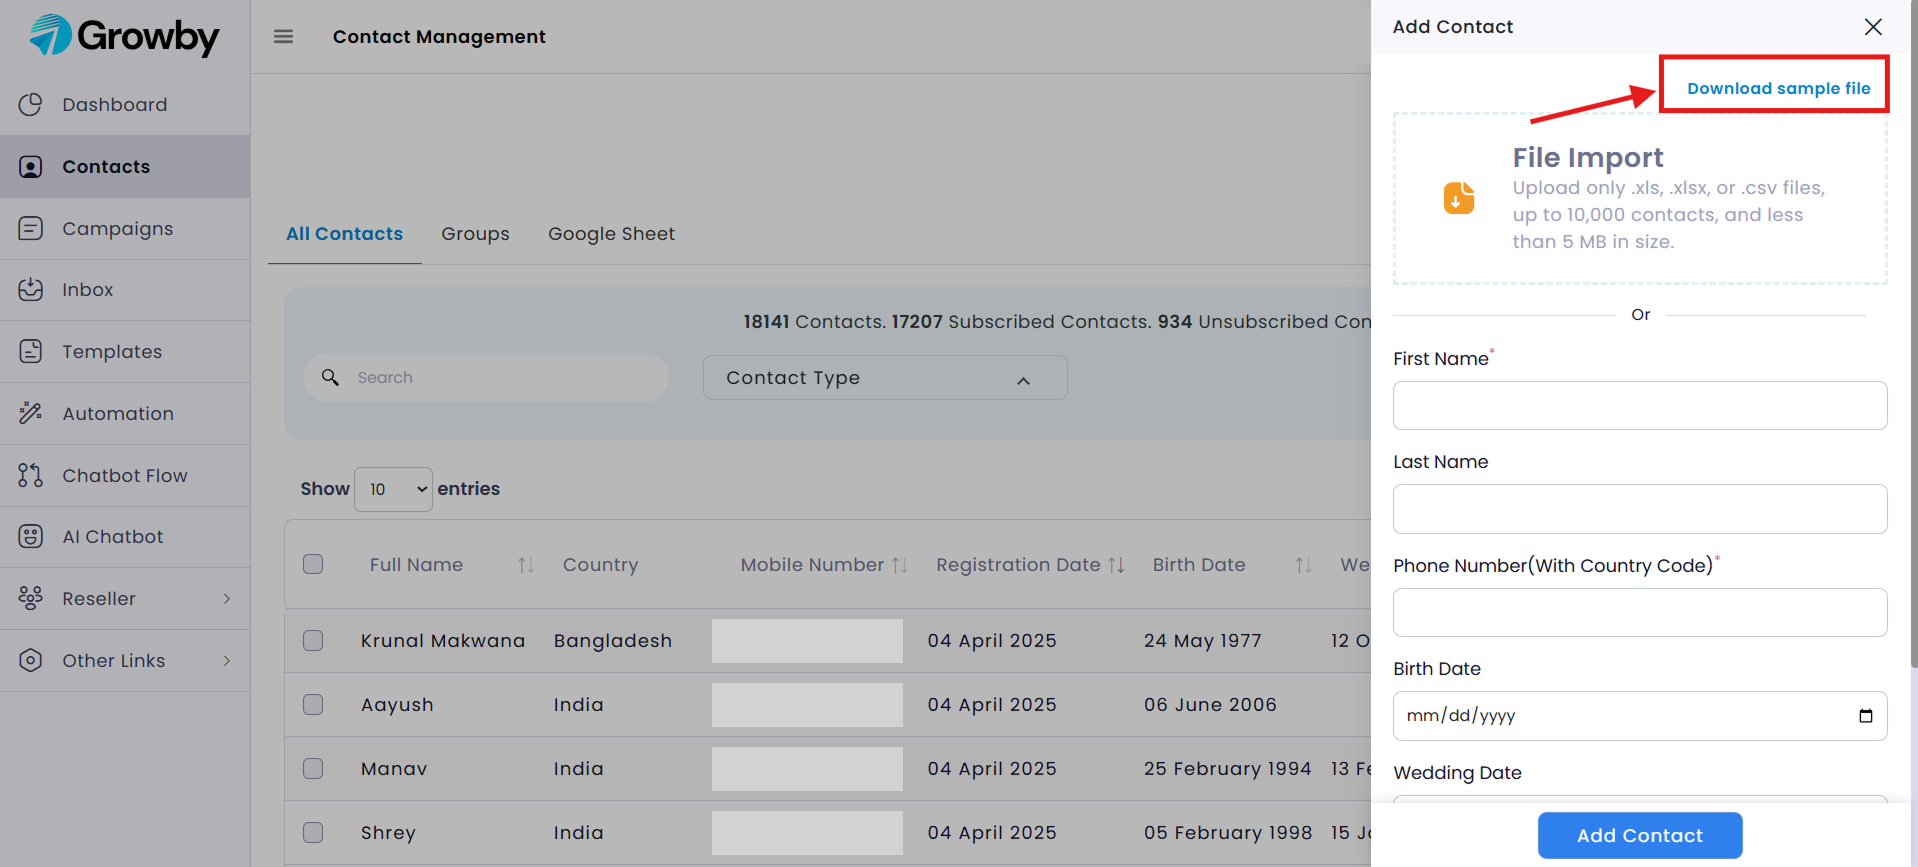
Step 5: Download the Sample File
Before proceeding, it’s essential to ensure your contact data is correctly structured. To help with this, click on Download sample file to access a template.
Step 6: Format Your Data in Excel Sheets
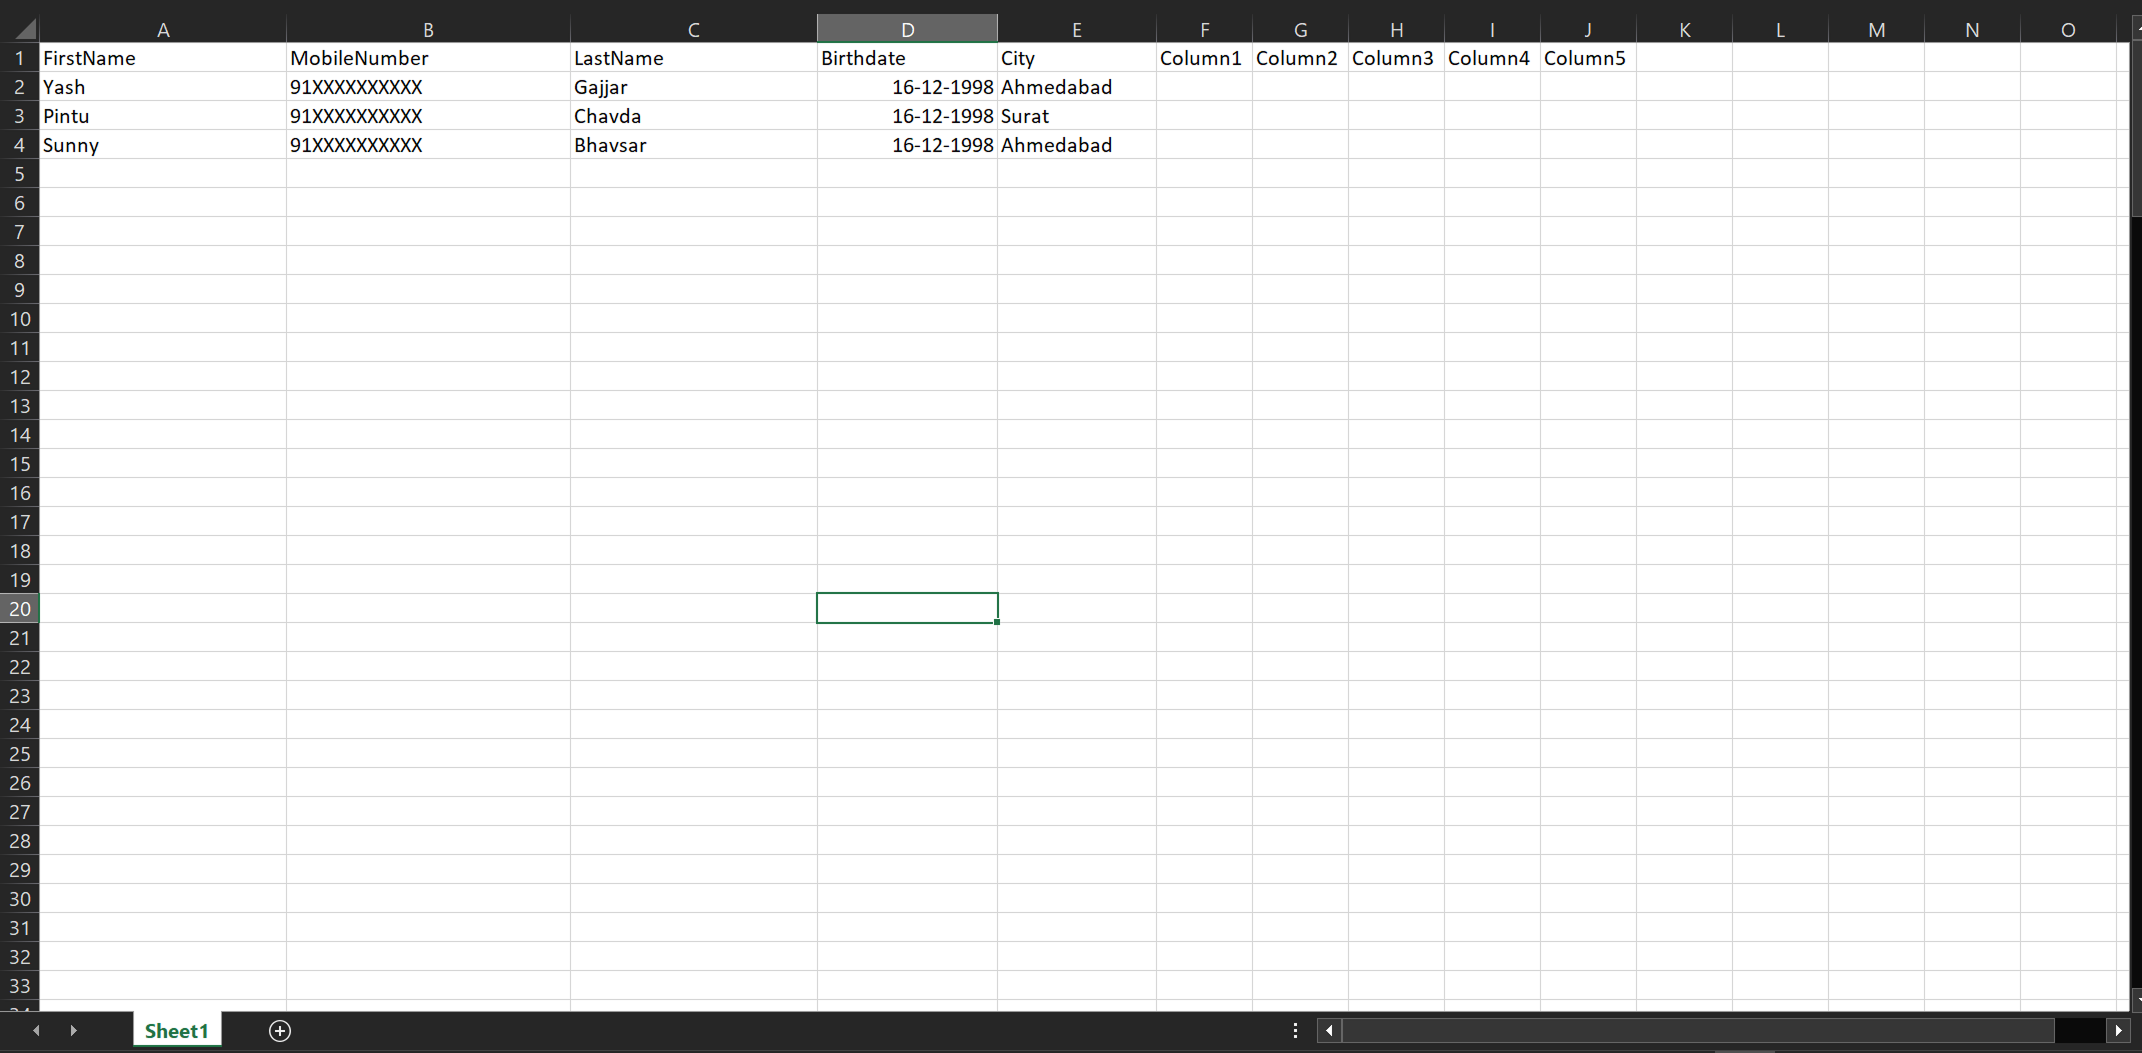
make sure the column name must be same as shown in the sample file.
The columns you can add for your contacts are:
- Firstname : The contact’s first name
- MobileNumber : The contact’s mobile number, including the country code
- LastName : The contact’s last name
- Birthdate : The contact’s date of birth (in DD-MM-YYYY format)
- City : The contact’s city of residence
If you wish to include additional information, the extra columns (Column 1 to Column 5) are available for supplementary information. Such as:
- Column 1: Use for details like Lead type (hot, cold, warm) or address, or personal details
- Column 2: Track preferences such as product interests or preferred communication channels.
- Column 3: Store purchase history or service usage data.
- Column 4: Record customer status like active or inactive.
- Column 5: Add notes or relevant context for future follow-ups.
These extra columns provide the flexibility to store additional data, ensuring that you can capture all the relevant information necessary for targeted and personalized marketing efforts.
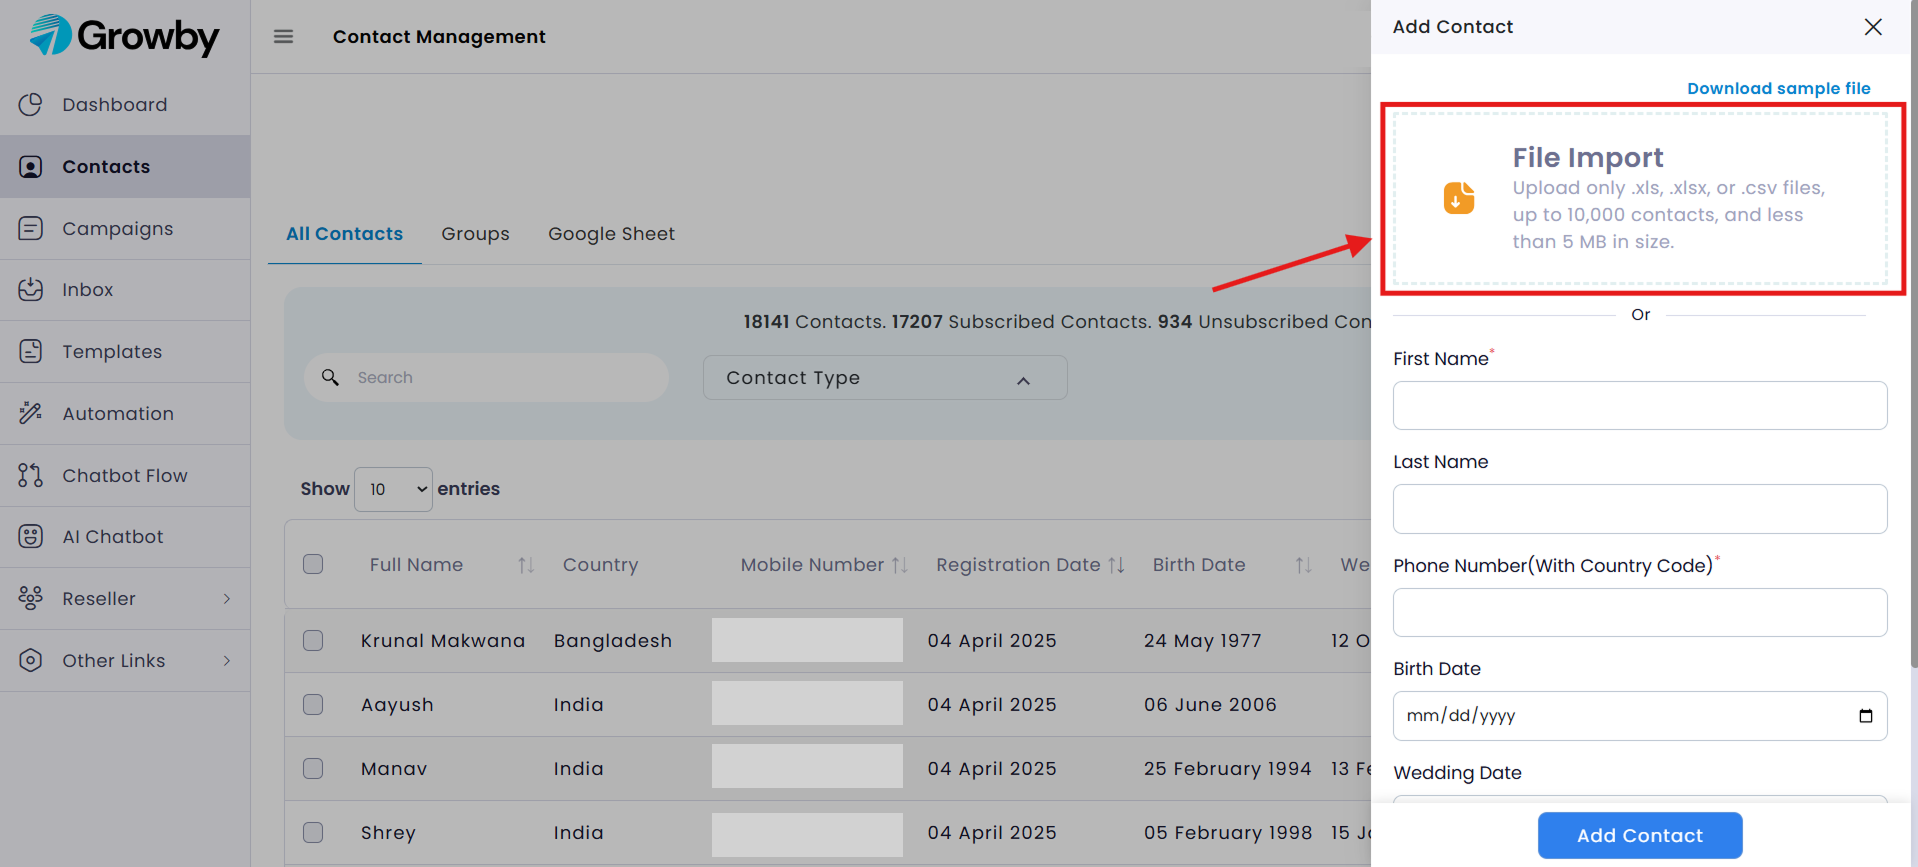
Step 7: Upload Your File
After setting up your Excel Files, Click on file import area to select the file for adding contacts and select the file from which you want to add the contacts.
Note: Supported file formats are .xls, .xlsv, .csv files including upto 10,000 contacts and does not exceed 5MB in size..
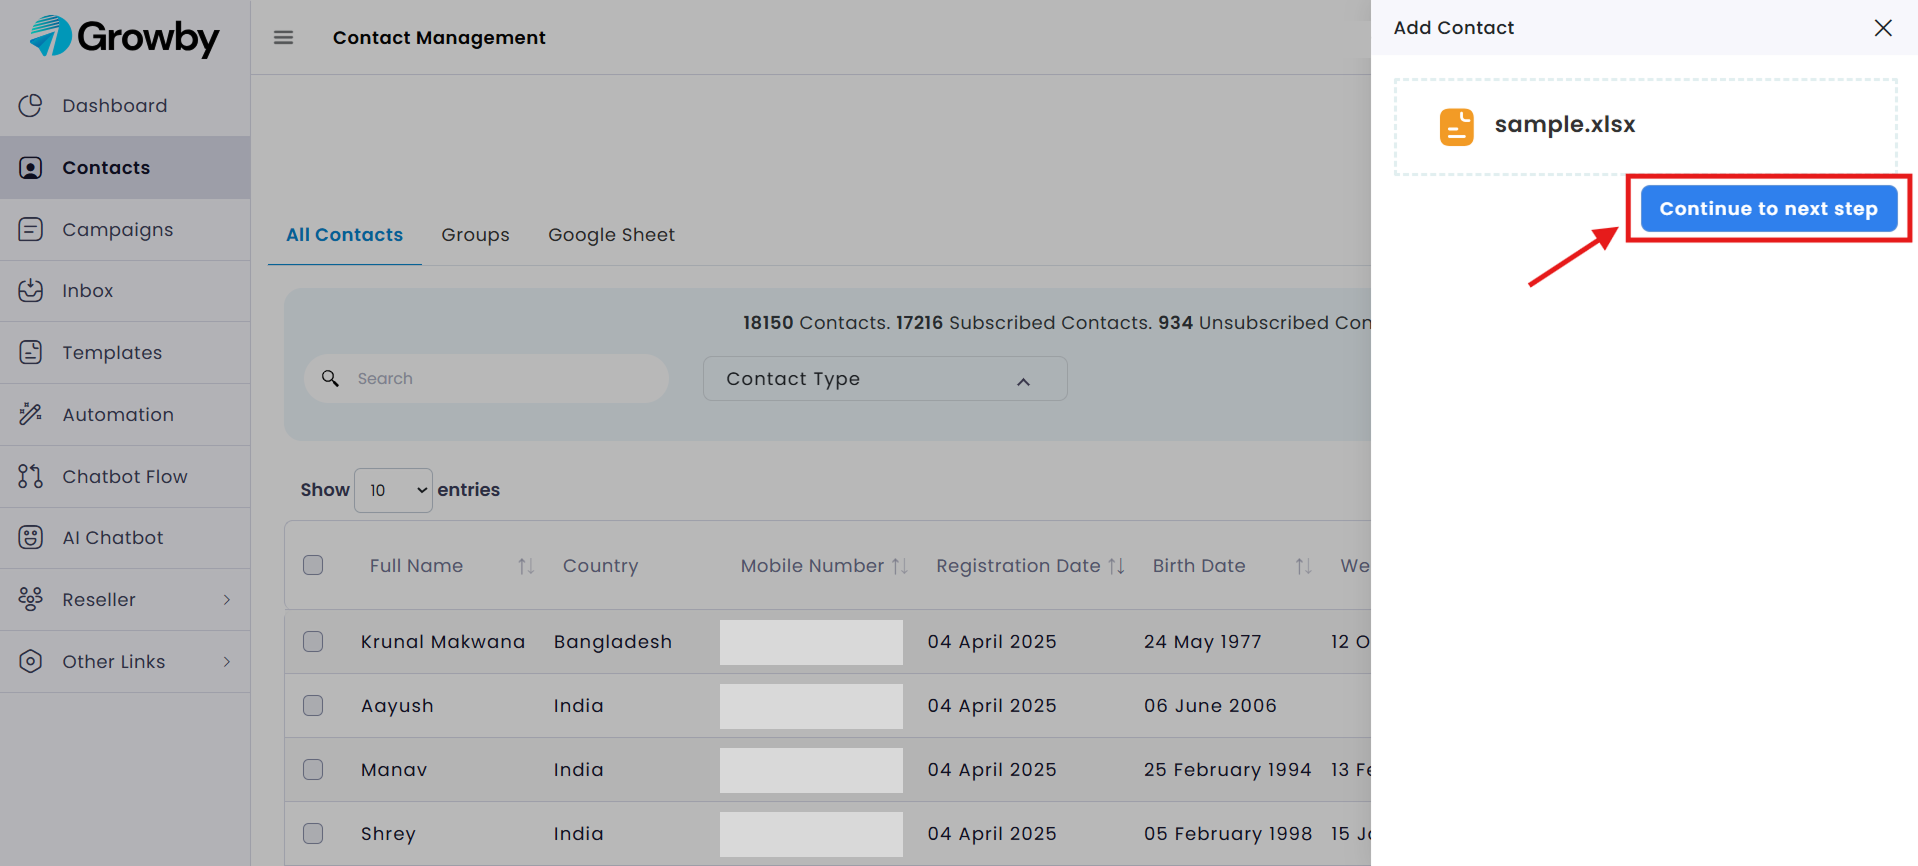
Step 8: Continue to the Next Step
Once you select your file, you will see its name displayed on the screen.
Click Continue to next step to proceed with the import process
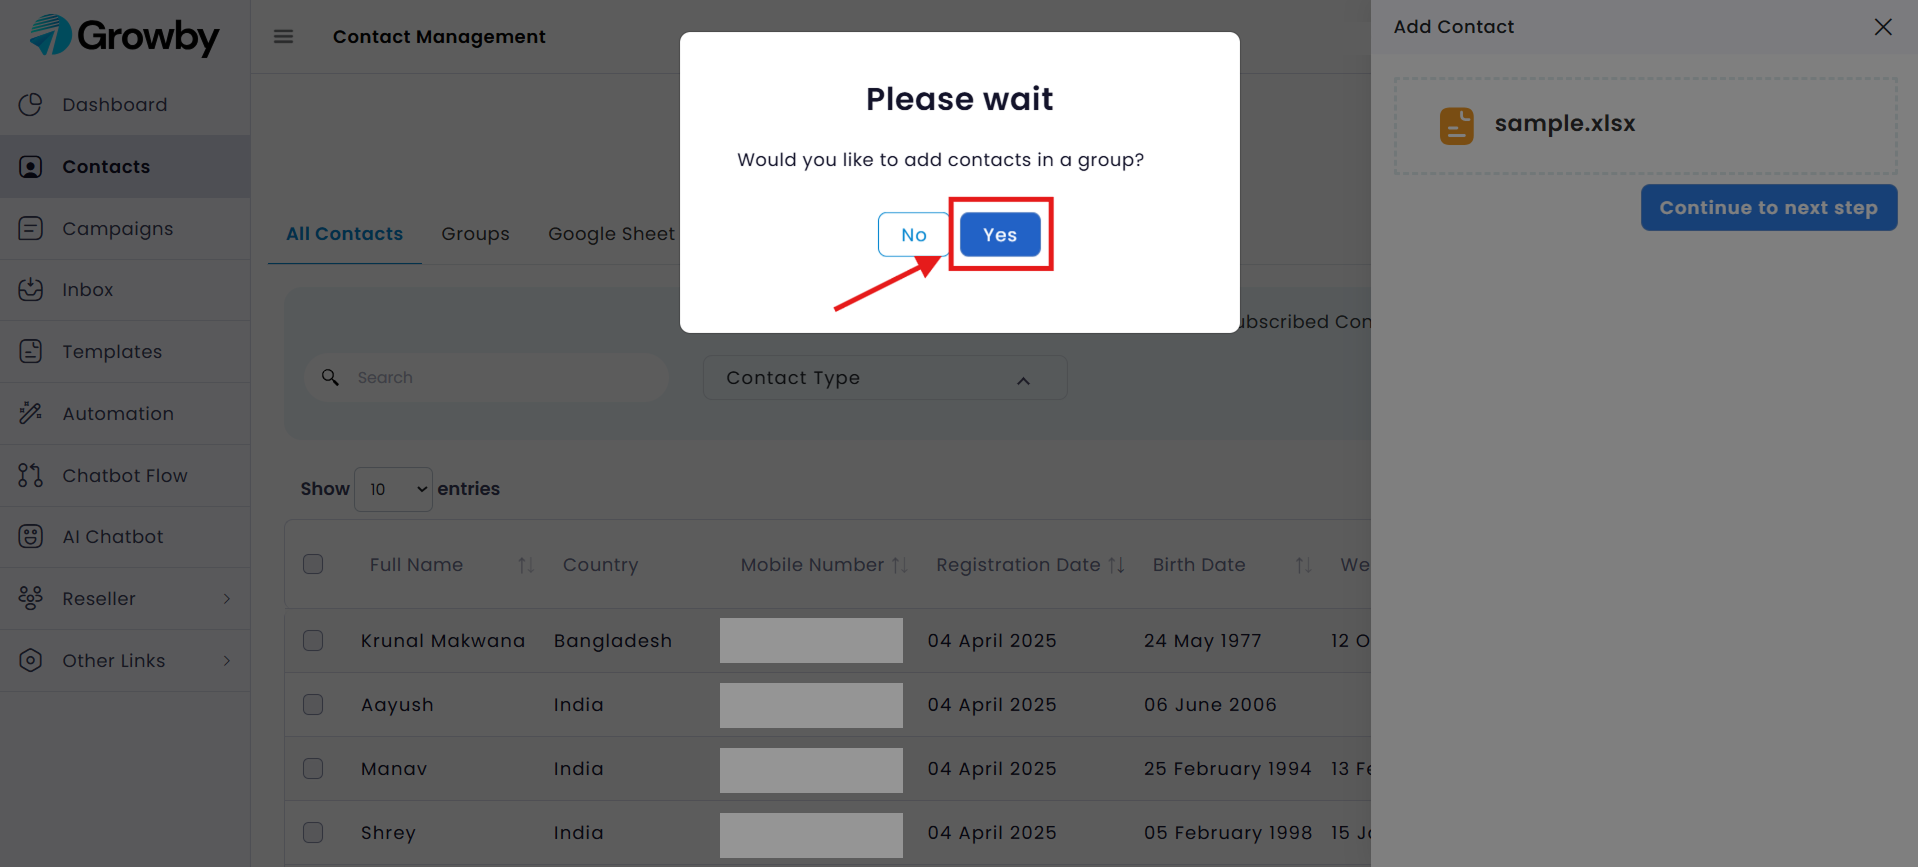
Step 9: Add Contacts to a Group
A pop-up will appear, prompting you to choose whether you want to add the imported contacts to a group.
- Click Yes if you wish to add the contacts to an existing group or create a new group (Refer to Step 10).
-
Click No if you do not want to add the contacts to any group and proceed with the Step 11.
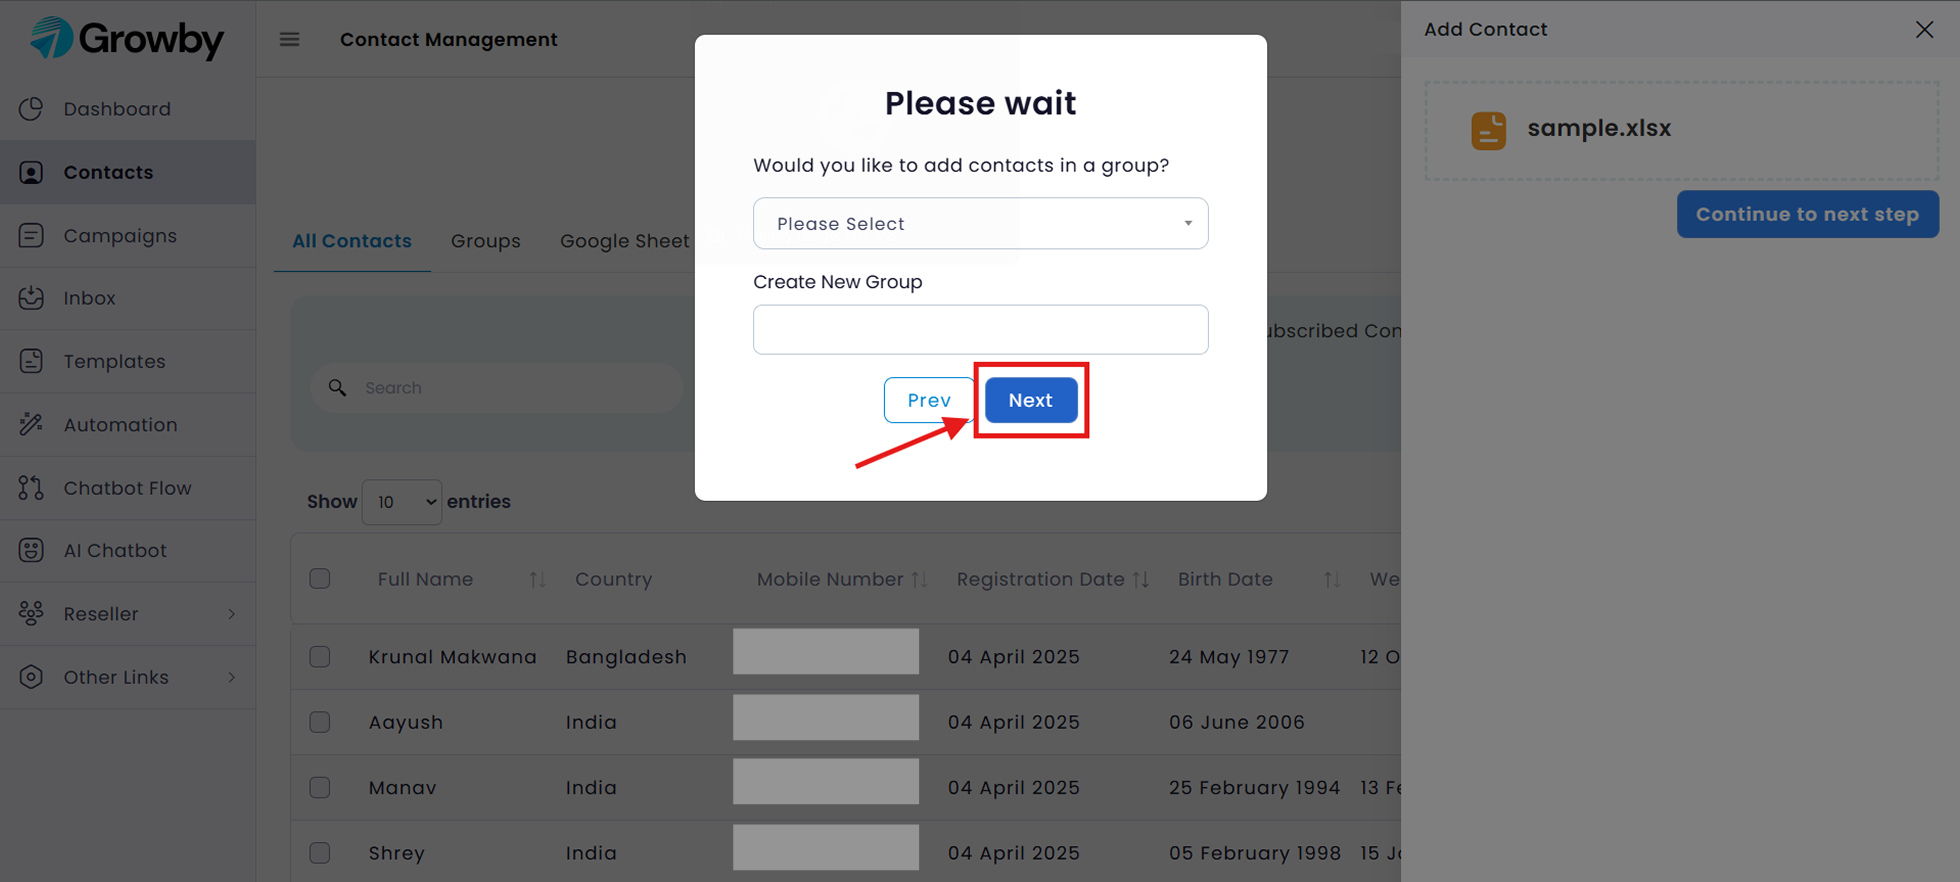
Step 10: Create or Select a Group
Here, you will now have the option to either create a new group or add the contacts to an existing group. After making your selection, click Next to proceed.
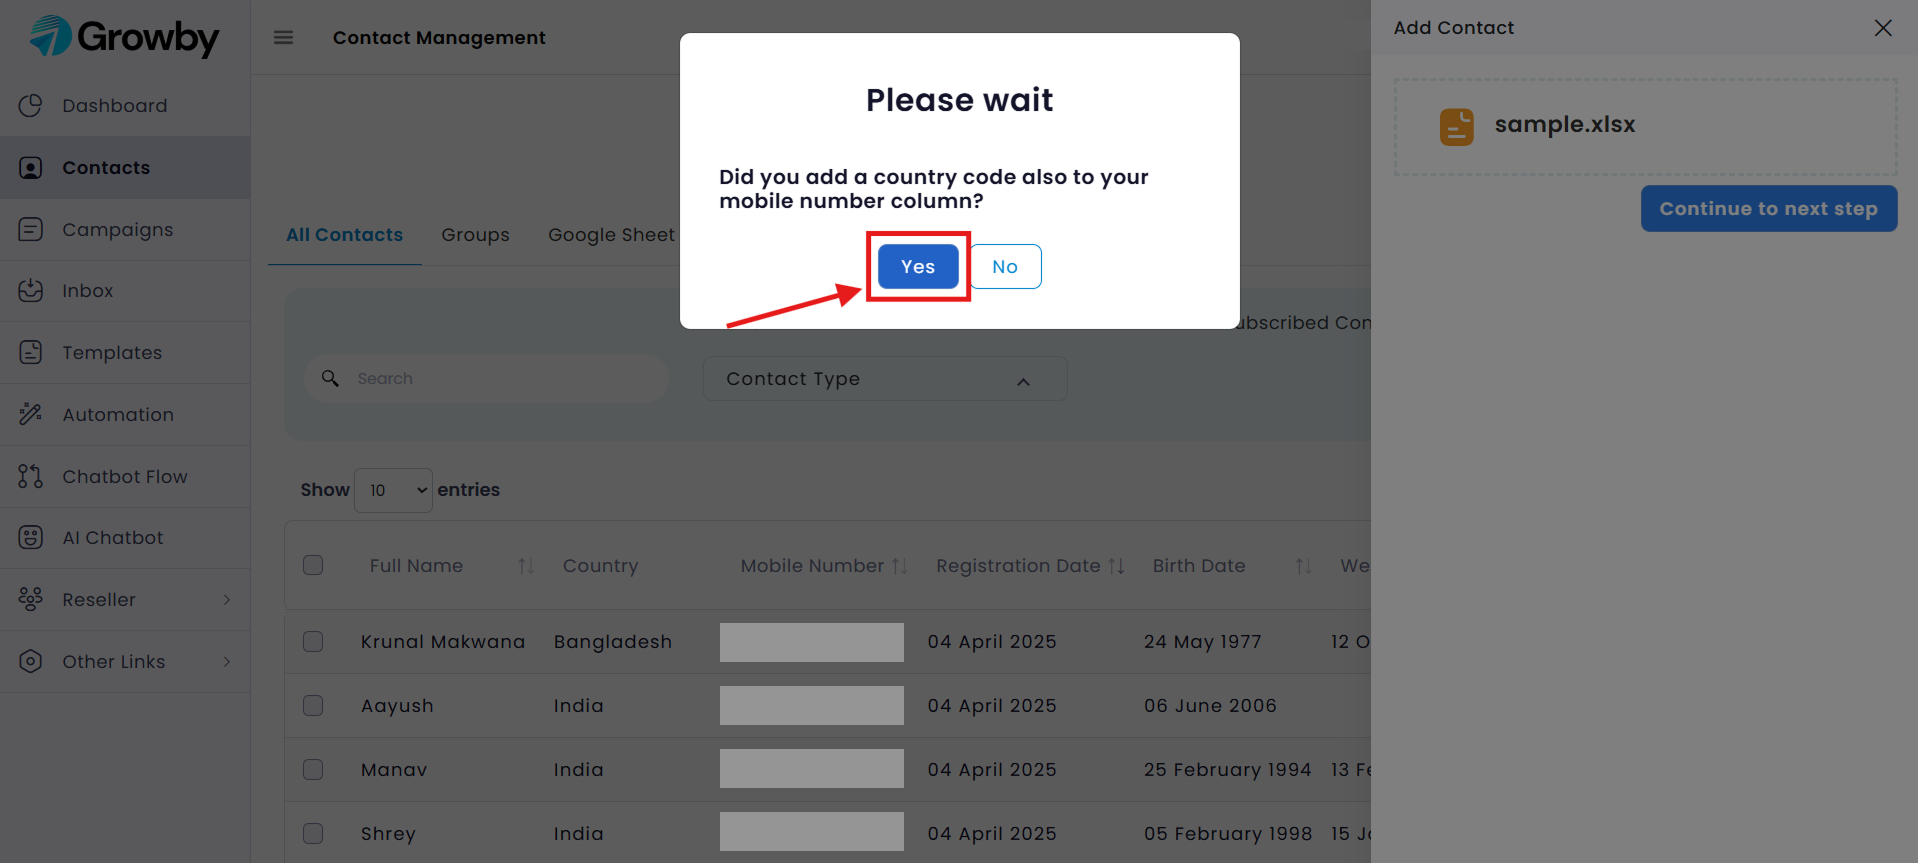
Step 11: Country Code Confirmation
A prompt will appear asking if you have included the country code in the mobile number column of your file. Select one of the following options:
- Click Yes if the country code has already been added to the mobile numbers (Refer to Step 13).
-
Click No if you haven’t added the country code, and proceed with Step 12.
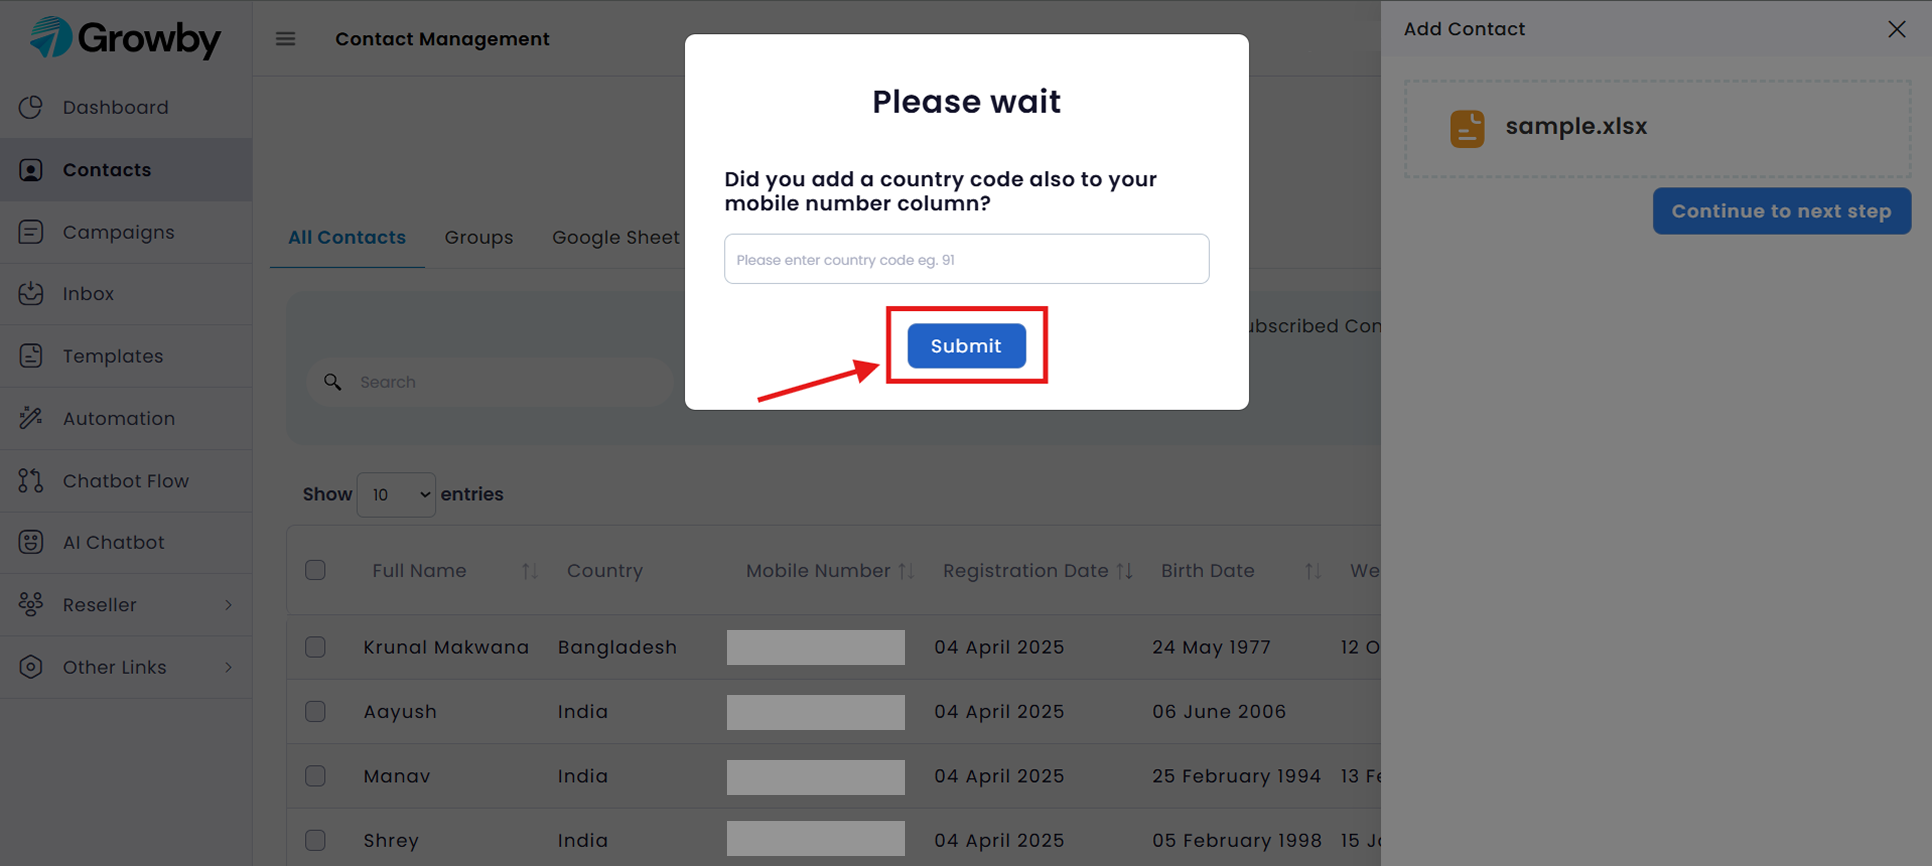
Step 12: Add Country Code
Add your country code and click Submit to proceed.
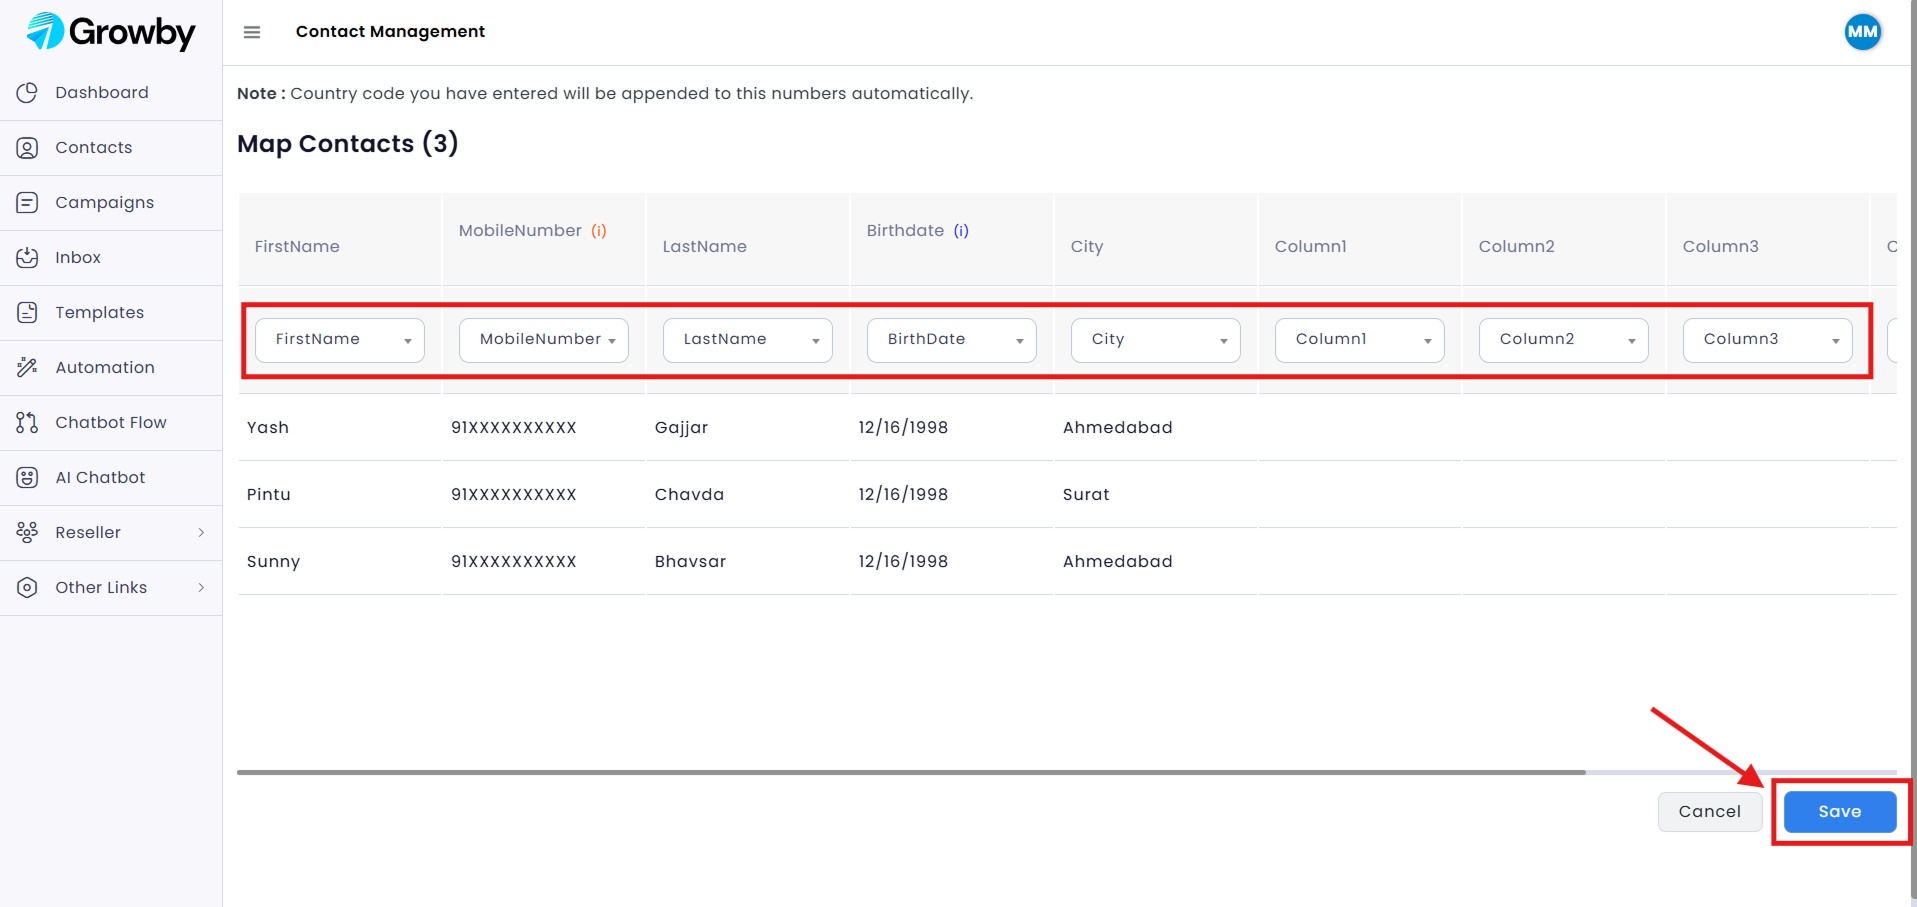
Step 13: Map Your Columns
Ensure that each column from your file is accurately matched with the corresponding field. This step ensures that the contact details are properly aligned for seamless integration.
- Carefully review each field (e.g., First Name to First Name, Mobile Number to Mobile Number, etc.)
-
Adjust the mapping if necessary to ensure everything is correctly aligned.
Once you confirm the mapping is accurate, click Save to finished this process.
Step 14: View Your Imported Contacts
Upon completion, you’ll be directed to the contacts section, where your newly added entries will be visible.
Now, your contacts are ready to be used across various features, such as:
- Creating and managing chatbot flows
- Launching marketing campaigns
-
Setting up automations